Browsing Category

DIYs

DIYs

Easy DIYs: Ombré bunting necklace

March 28, 2014

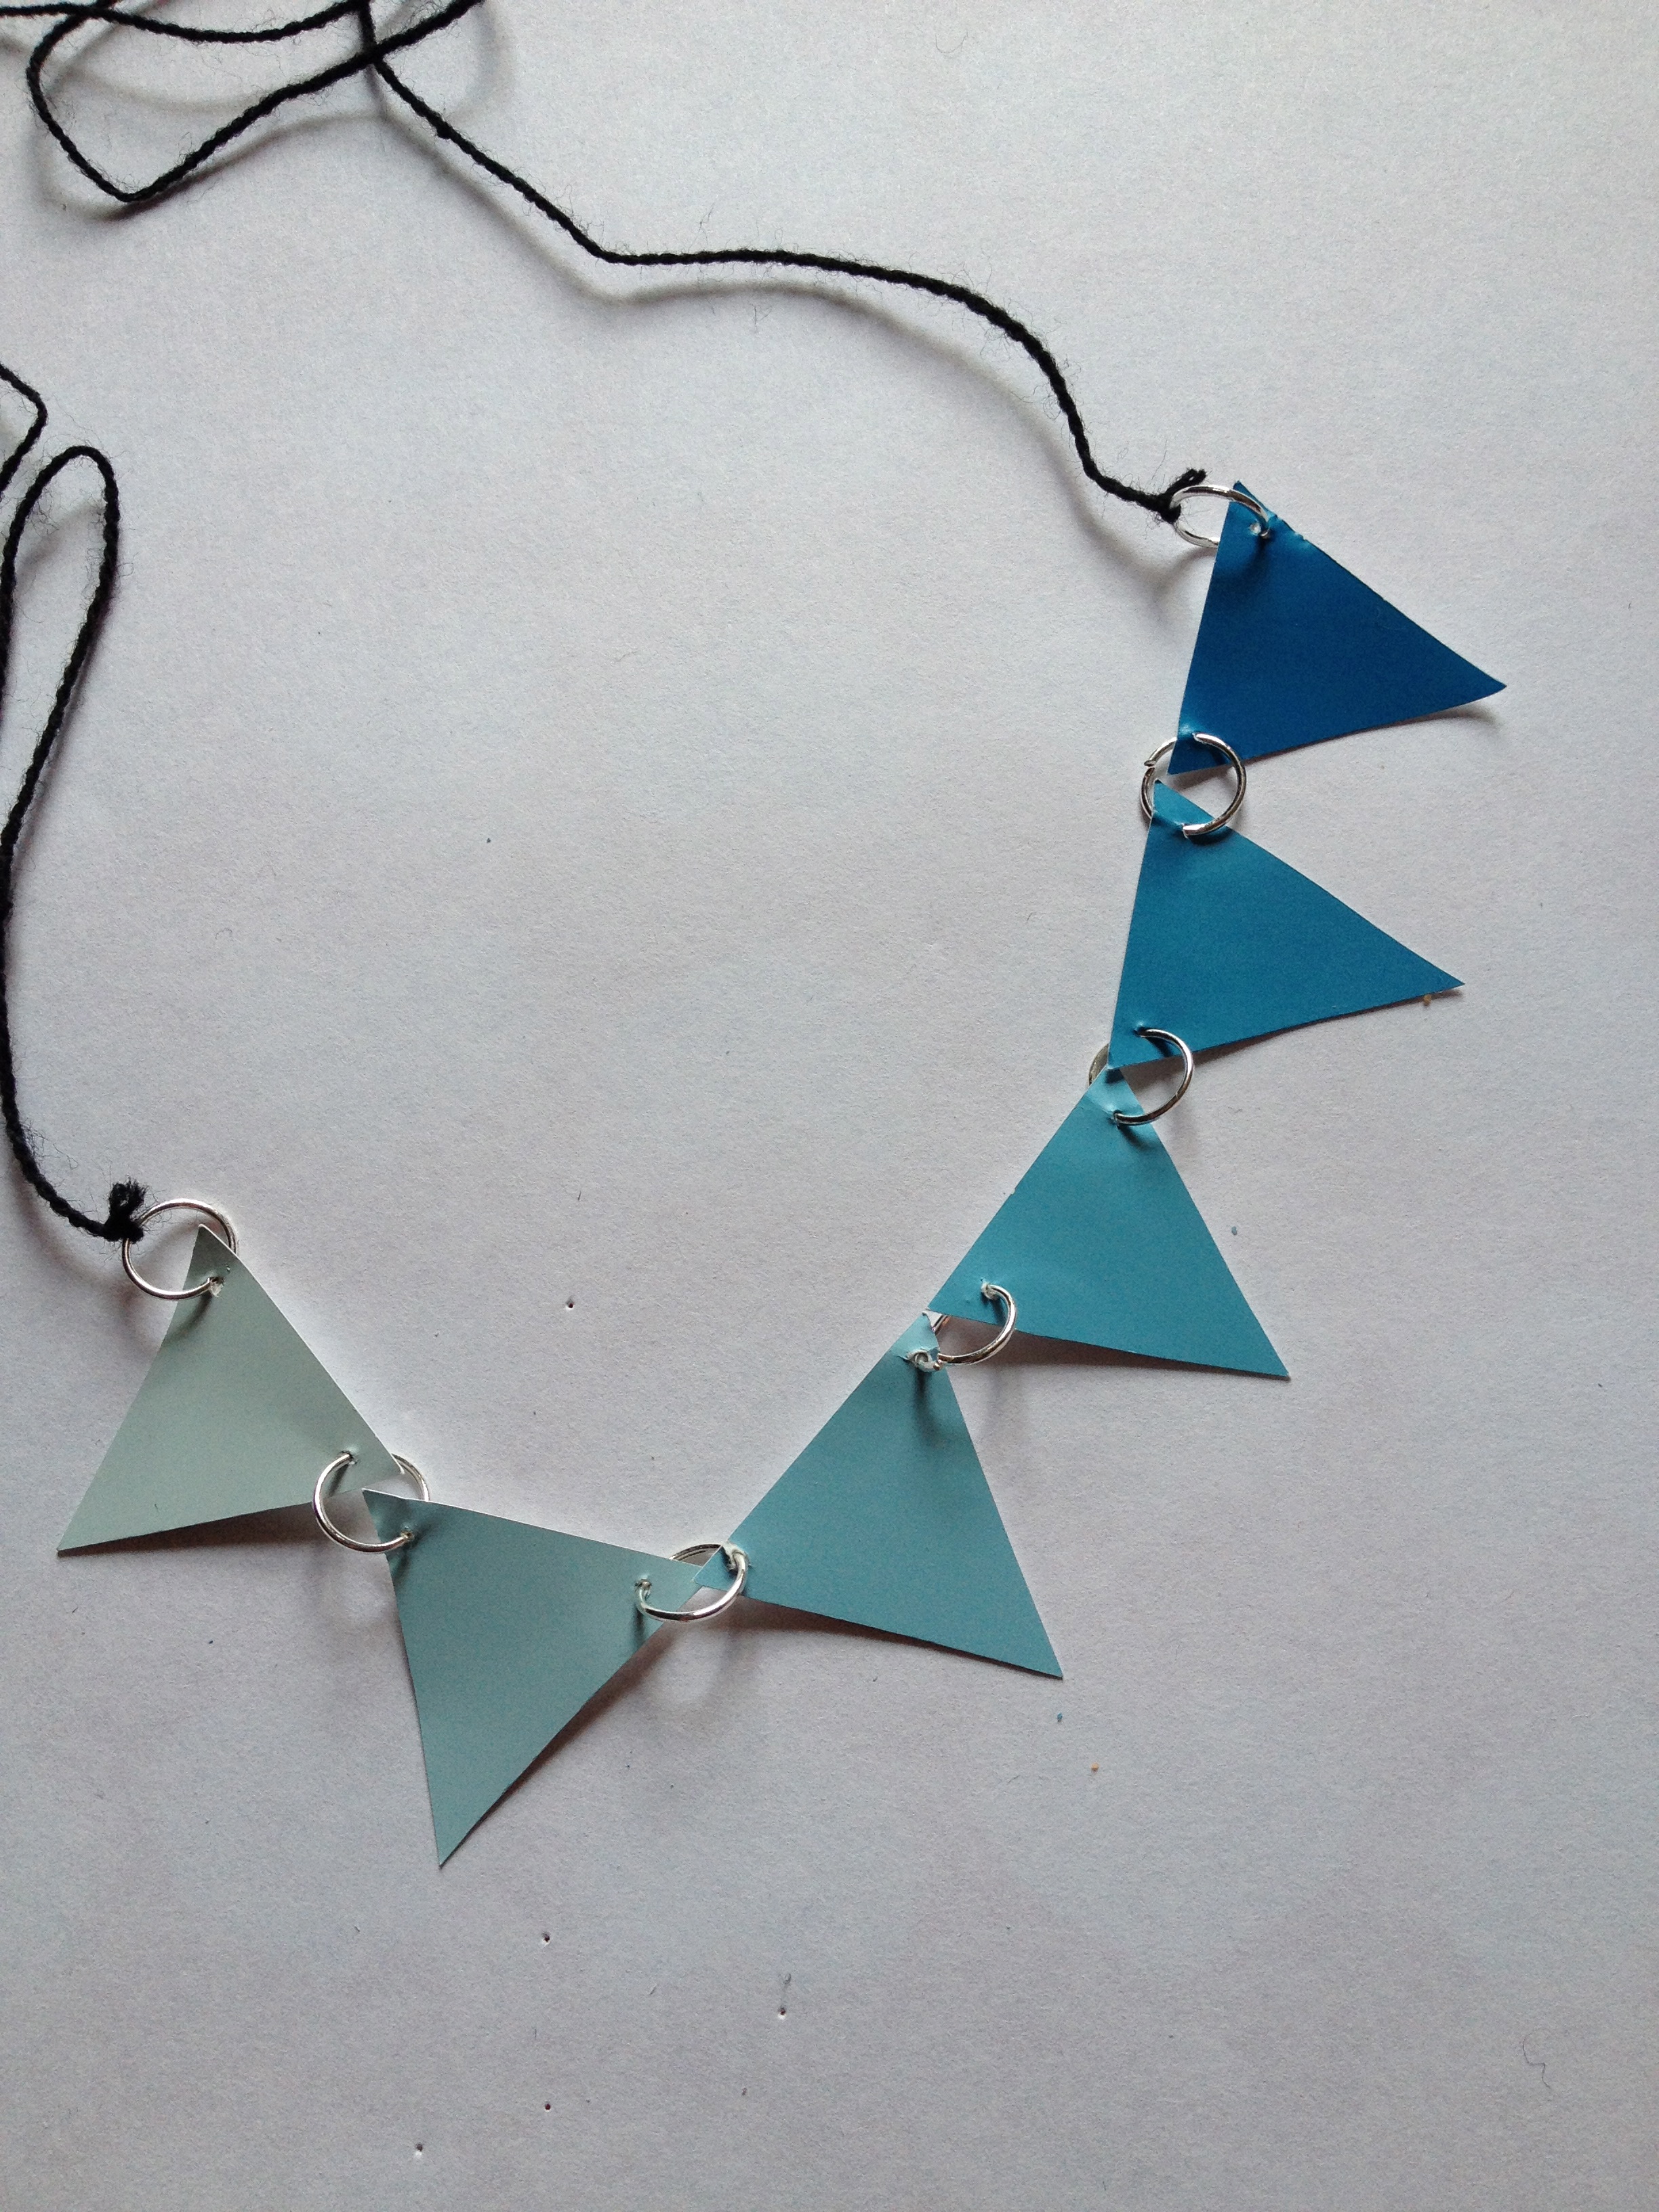
IMG_4768A bunting necklace is a perfect last-minute gift for your Mum this Mother’s Day. The project is easy and doesn’t take too much time. As long as you have what you need, you could probably whip it up in an evening.

What you’ll need:

IMG_4761

Sample paint cards (in any colours you choose)

Thick black or white thread

Jump rings

Pliers

Scissors

Scrap paper

A pin

To make:

1. Cut out a triangle shaped template using your scrap paper. Use this to cut equal triangle shapes from each of the paint colours.

Paint cards make perfect ombré necklaces and are easy to find

Paint cards make perfect ombré necklaces and are easy to find

2. Lay your triangles out as you wish. Take the pin and make a small hole in the two top corners of each triangle (be very careful when you do this – I found it easier to lay the triangles flat on a piece of paper while doing this).
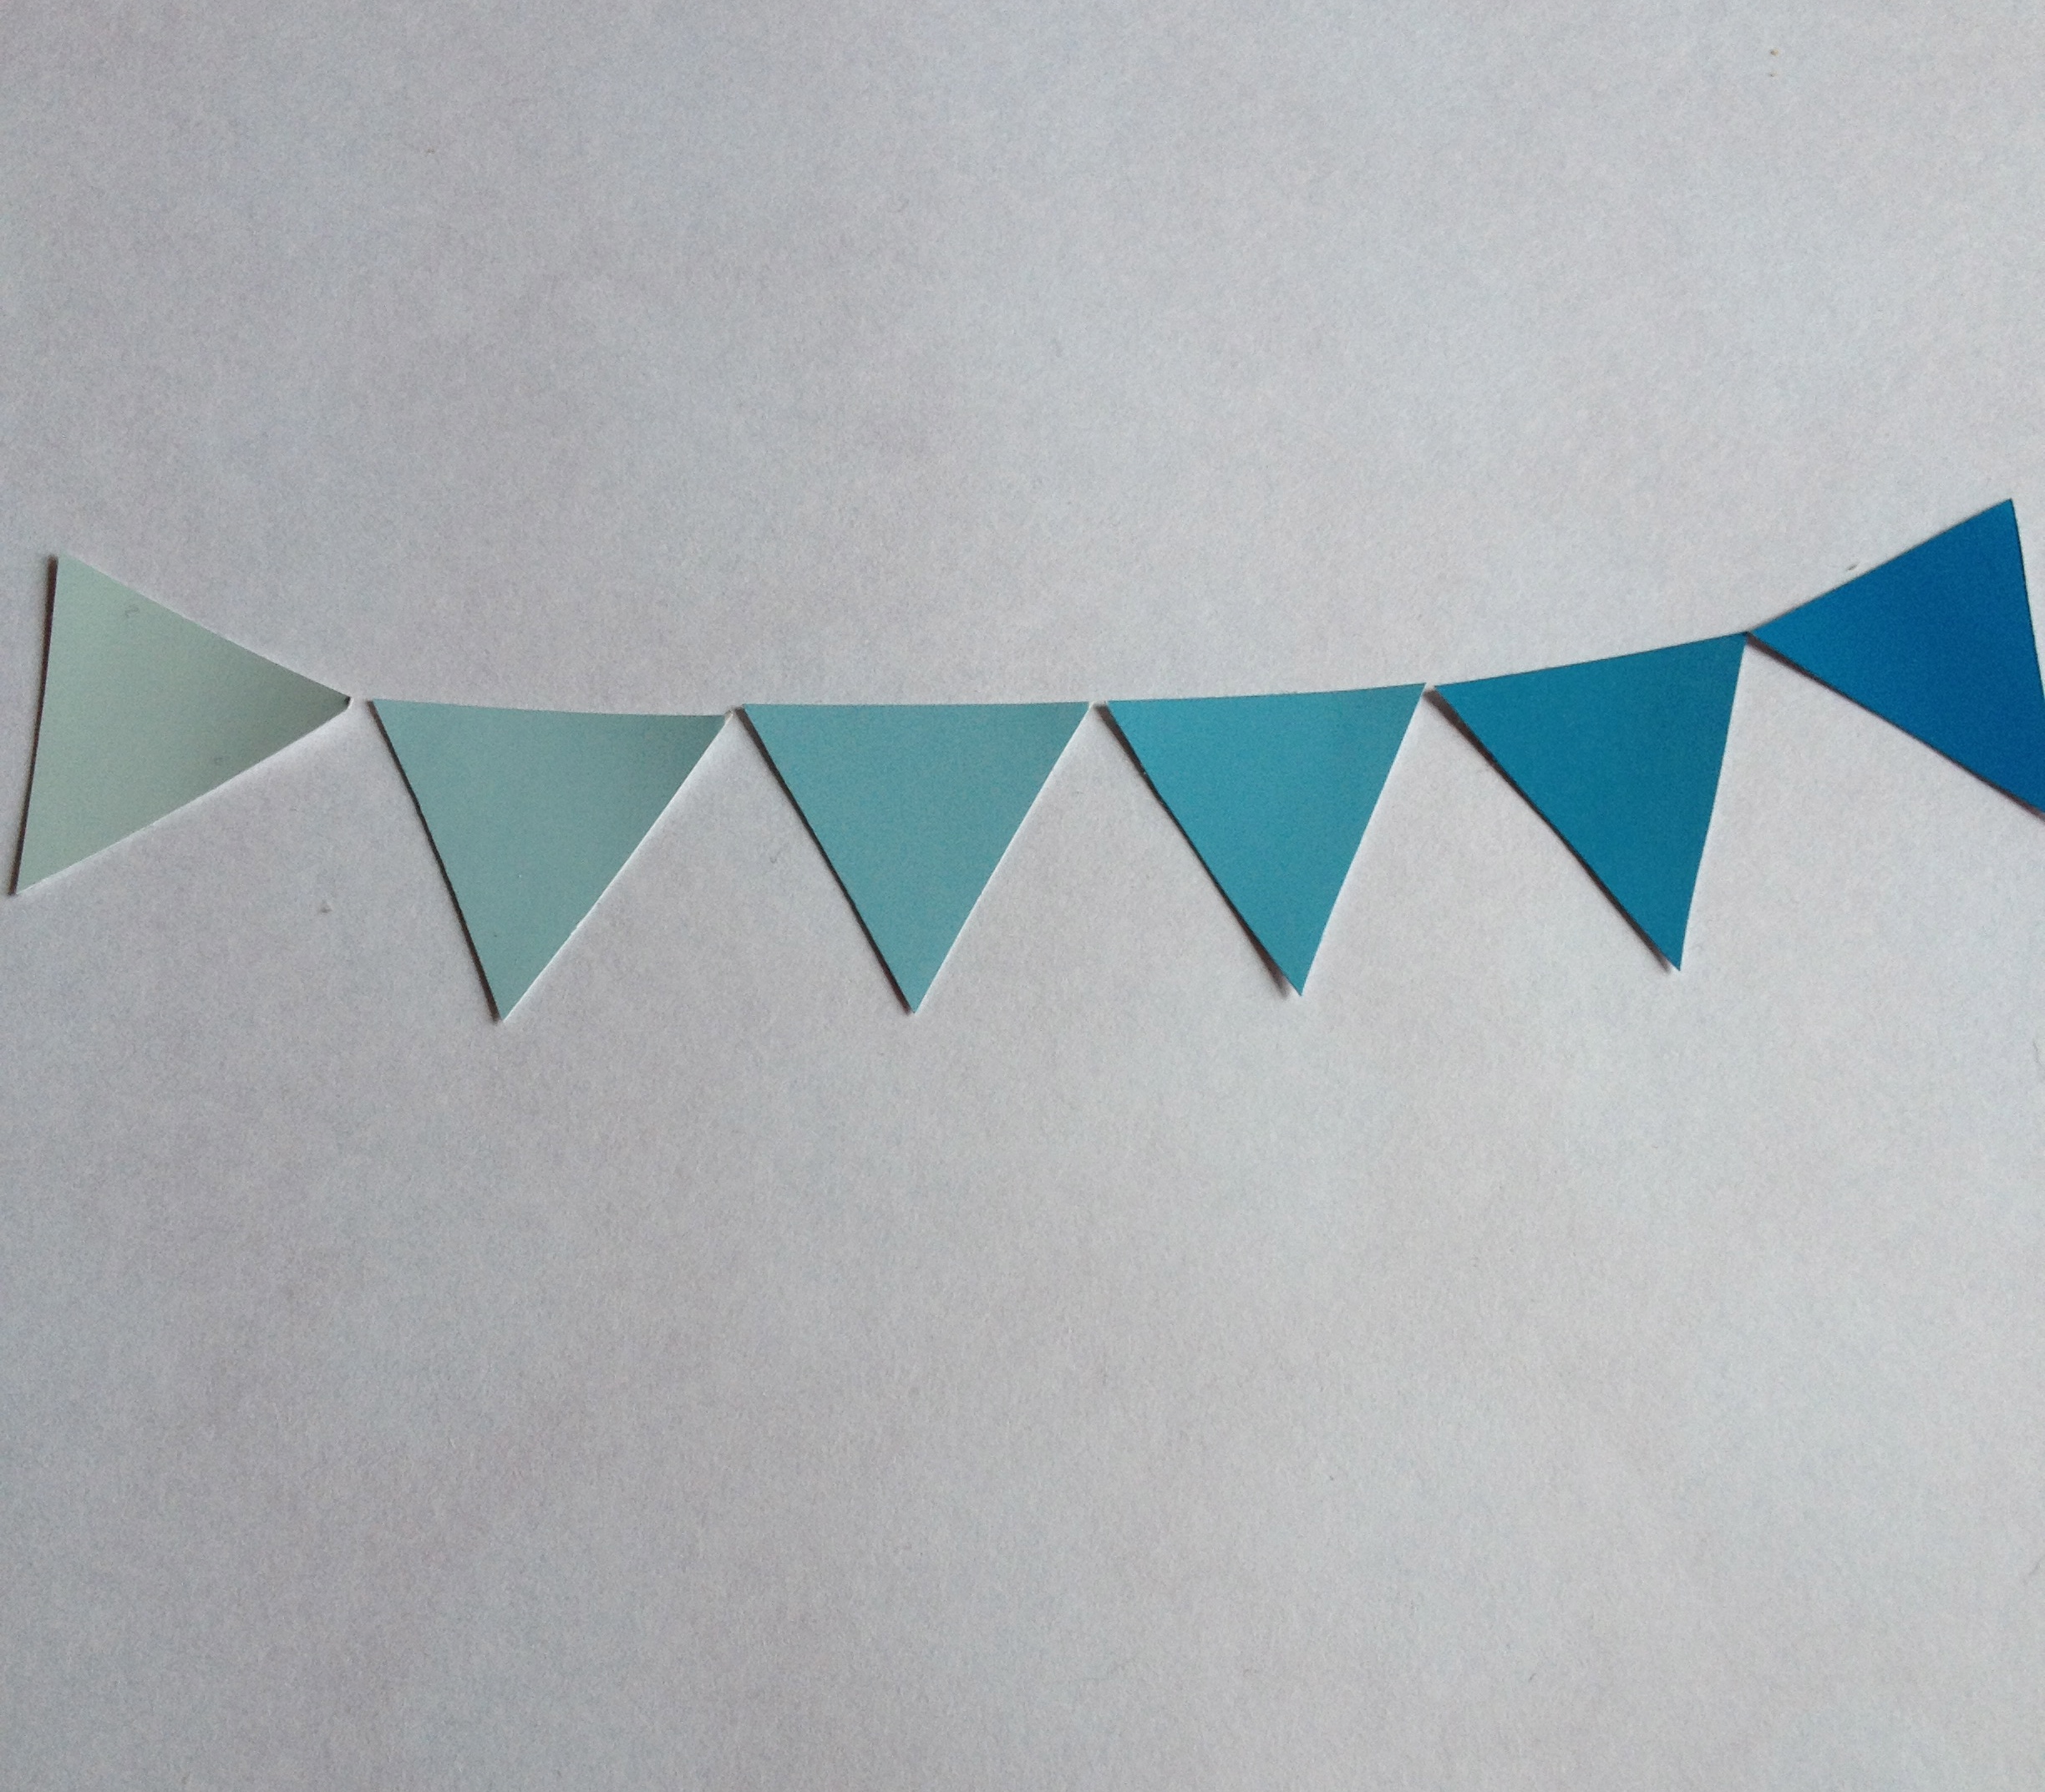
It's a good idea to work out where you want your triangles to sit before attaching the jump rings

It’s a good idea to work out where you want your triangles to sit before attaching the jump rings

3. Open the jump rings with your pliers and attach one through the left hole of the first triangle and the right hole of the last triangle.

4. Attach the jump rings to the other triangle corners, making sure that each ring goes in front to back and connects two of the triangles.

IMG_4767

5. Once they’ve all been connected, measure the thread against your neck. Cut out two equal pieces that will attach to the jump rings at the end and tie up behind your neck.

6. Tie each thread to the end jump rings and tie to your neck. Ideally, you’ll need to tie a tight enough knot that the necklace doesn’t fall off, but loose enough so that you’ll be able to undo it.

There are plenty of variations on this necklace. You could pick up a few different coloured paint cards and make a colourful necklace, or cut different squares and attach jump rings vertically, like below.

photo-60

If you’ve liked this post, please make sure to comment and follow. I also have a Facebook page here, if you want to keep up to date with me there.

More easy DIYs can be found here.


DIYs

Easy DIYs: Lengthening a dress

July 14, 2013

IMG_1780Remember this post? Well, I finally got around to lengthening the first dress and I thought that this would also make the perfect Easy DIY feature. It was pretty simple to do and didn’t require much effort, so if you have an abnormal amount of too short dresses, or just one that you’d like to lengthen, then here’s your chance. Let’s get started!

What you’ll need:

IMG_1777-The dress you’d like to lengthen

-Another dress or fabric to lengthen with

-A tape measure

-Fabric scissors

-Pins

-A stitch unpicker

-And, of course, either a sewing machine or a needle and thread

The method:

1. Unpick the hem of the dress you want to lengthen

2. Decide on the length you want your dress to be. It may be helpful to measure it against another dress which you wear often and you know is a good length. Note the extra length down

IMG_1784

3. Measure the width of the first dress (at the hem) while it is flat. Make sure there are no kinks in the fabric when you do this though, as it’ll affect the alterations. I found it easier to do the front and back separately, which gave me different measures

I used a teal dress instead of fabric as I found that the colour matched almost perfectly to my altered dress

I used a teal dress instead of fabric as I found that the colour matched almost perfectly to my altered dress

4. Cut out your fabric (or second dress, in my case) according to the measures you have taken. Look at the original seams of the dress and try to follow suit. For mine I cut out two back pieces and one long front piece. Remember to add an extra inch or so for seam allowances on the side and hemming on the bottom

If your fabric has a slight stretch to it it may help to cut out a template from a piece of newspaper first

If your fabric has a slight stretch to it it may help to cut out a template from a piece of newspaper first

5. Pin the pieces of fabric to the dress (right sides together), turn over and check that you’re happy with it

IMG_1789

6. Sew the fabric to the dress

IMG_1794

7. Once this is done, and you’re happy with how it looks, sew the sides together, creating a seam. Make sure you follow the line of the original seam and, if you find it easier, unpick a few stitches of the original seam to help you

8. All that’s left to do now is to hem the dress and try it on

IMG_1796

Et voila! A dress that was once almost indecent has been converted into a wearable garment once again.

DIYs

Easy DIYs: A simple photo holder

June 27, 2013

ImageI have a lot of Instax photos and I’m always looking for ways to store them. Usually I stick them to my wall, but there’s only so much wall space that you can attach photos to without it looking a bit weird. So, without further ado, here’s my solution: the simple photo holder.

It’s a really easy project and only took me a couple of minutes, so it’s perfect for that last minute gift you’ve forgotten to give your friend. You can use paper or fabric for the background and string or ribbon for the photos. I used some raffia because I had it lying around and I’m not one for waste, but I probably wouldn’t use it again, as string or a very thick cotton would have worked better. Ah well, I live and learn.

It’s not the best tutorial, but it is an easy one to do, so if you’re like me and are always losing photos because there’s nowhere for them to go, then why not give it a try.

All the details are in the video below:

Clothing, Crafting ideas, DIYs

Take two dresses

June 13, 2013

ImageImage

I bought these dresses around the same time. As much as I love them though, they’re both far too short for me now. In the year or so that I’ve had them, I haven’t had enough wear out of them to cover what I spent.

I got the first one in the Topshop sale, after admiring it on many blogs I read at the time. It was quite cheap really and that was probably the reason why I bought it, knowing it was indecently short on me (I’m 5″8 so I have to be careful with dresses). I took it home and unstitched the hem straightaway, hoping I might be able to get away with the unfinished, slightly longer look. But it is still too short and no amount of pairing it with leggings or thick tights is ever going to change this.

The second one is from H&M and I love it so, so much. This is probably the one that I’ve had the most wear out of, but this one sadly shrank after the first wash and I’m sure it shrank again in later washes. I think this is a fault of some H&M dresses though, as I’ve known the same thing happen to friends and family. I have worn this dress once or twice since it shrank, but I cannot get away with it any longer. It doesn’t help that I prefer to buy longer dresses now either.

So I’m on a mission. I don’t want to waste space in my wardrobe anymore, and I certainly don’t want to get rid of two dresses that I still really like. I don’t think I’ll be able to lengthen the H&M dress, so I’m planning on shortening that one a bit (while still keeping a bit of the length in case it shrinks again), but I already have a plan to lengthen the Topshop one with some fabric I already have. I’ll leave that for another post though.

Have you ever had any problems with dresses/tops shrinking? If so, what have you done to combat this? I’d be really interested to know.

Clothing, Crafting ideas, DIYs

Making a dress: Part two

May 21, 2013

Image

Following up from the last post, I’ve finished my dress! I haven’t made a dress in a little while and I  think this pattern was exactly the right one to get me started on dressmaking again. I couldn’t be more happy with the way it turned out and because I usually follow my own patterns, using a shop bought pattern was quite a scary process at first. There was a moment halfway through that I thought the top would be too small, because I usually make my patterns a little larger and then scale down. All was ok though and the top is slightly too big on me if anything.

Image

  A work in progress

Image

I like to lay my sewing out on the floor when working

I don’t have a better photo because I’ve been in bed the last couple of days, with a cold and sore throat, so the above photo is of the dress before it was hemmed. I like the length of it here and, although I was planning on shortening the length, I’ve kept it long. I’m planning on using the pattern again and adding sleeves. I might even make that one slightly shorter. What do you think?